You’ve joined MaxBounty, found an offer you want to promote, and opened the campaign application. Now you’re looking at questions about traffic sources, daily leads, creative, and ad placements.
What should you actually write?
In this guide, I’ll walk through how I prepare an offer application. You’ll see the page I use, where I plan to place banners, and how I describe my traffic.
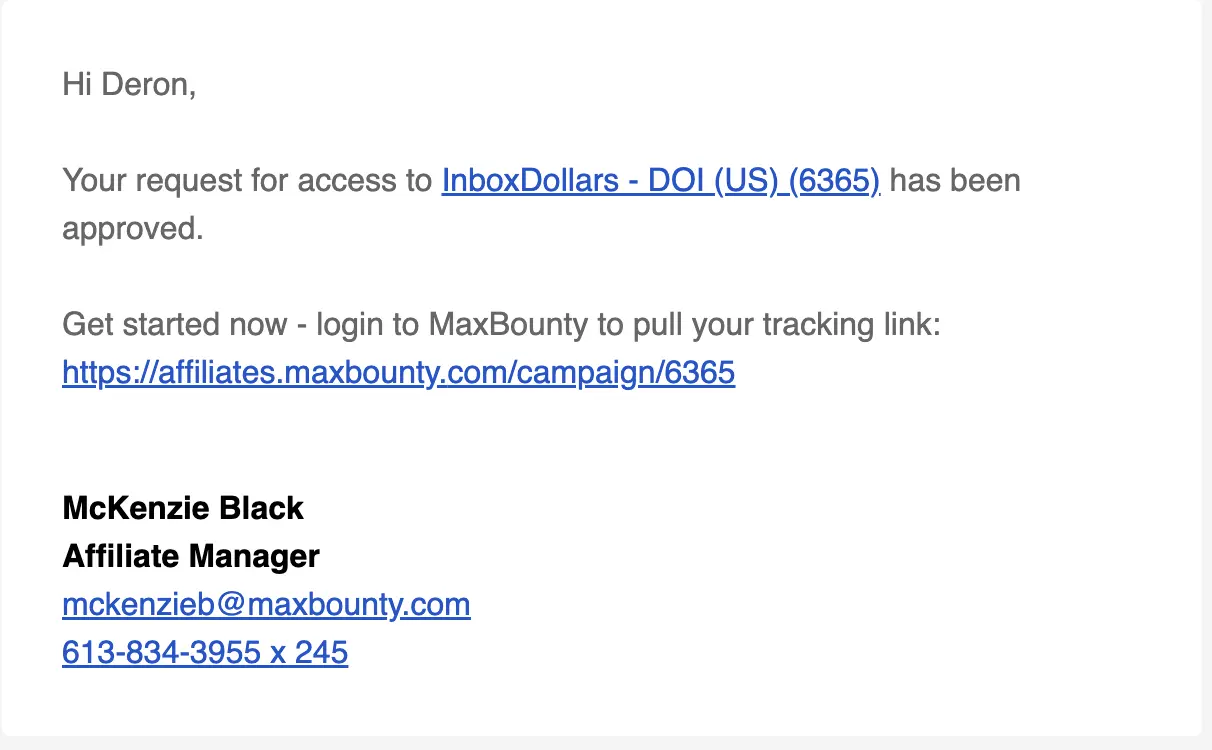
I’ll also share an example of an offer I was approved to promote: InboxDollars, which generated $424.80 in earnings in my MaxBounty report.
MaxBounty Account Approval and Offer Approval Are Different
Getting accepted into MaxBounty gives you an affiliate account. Some individual campaigns require a separate application before you can promote them.
This article focuses on that second step: requesting access to a specific offer.
An offer application gives the reviewer information about your planned promotion. Rather than submitting a vague answer such as “I’ll use social media,” I explain where visitors come from, what they see, and how they reach the advertiser’s page.
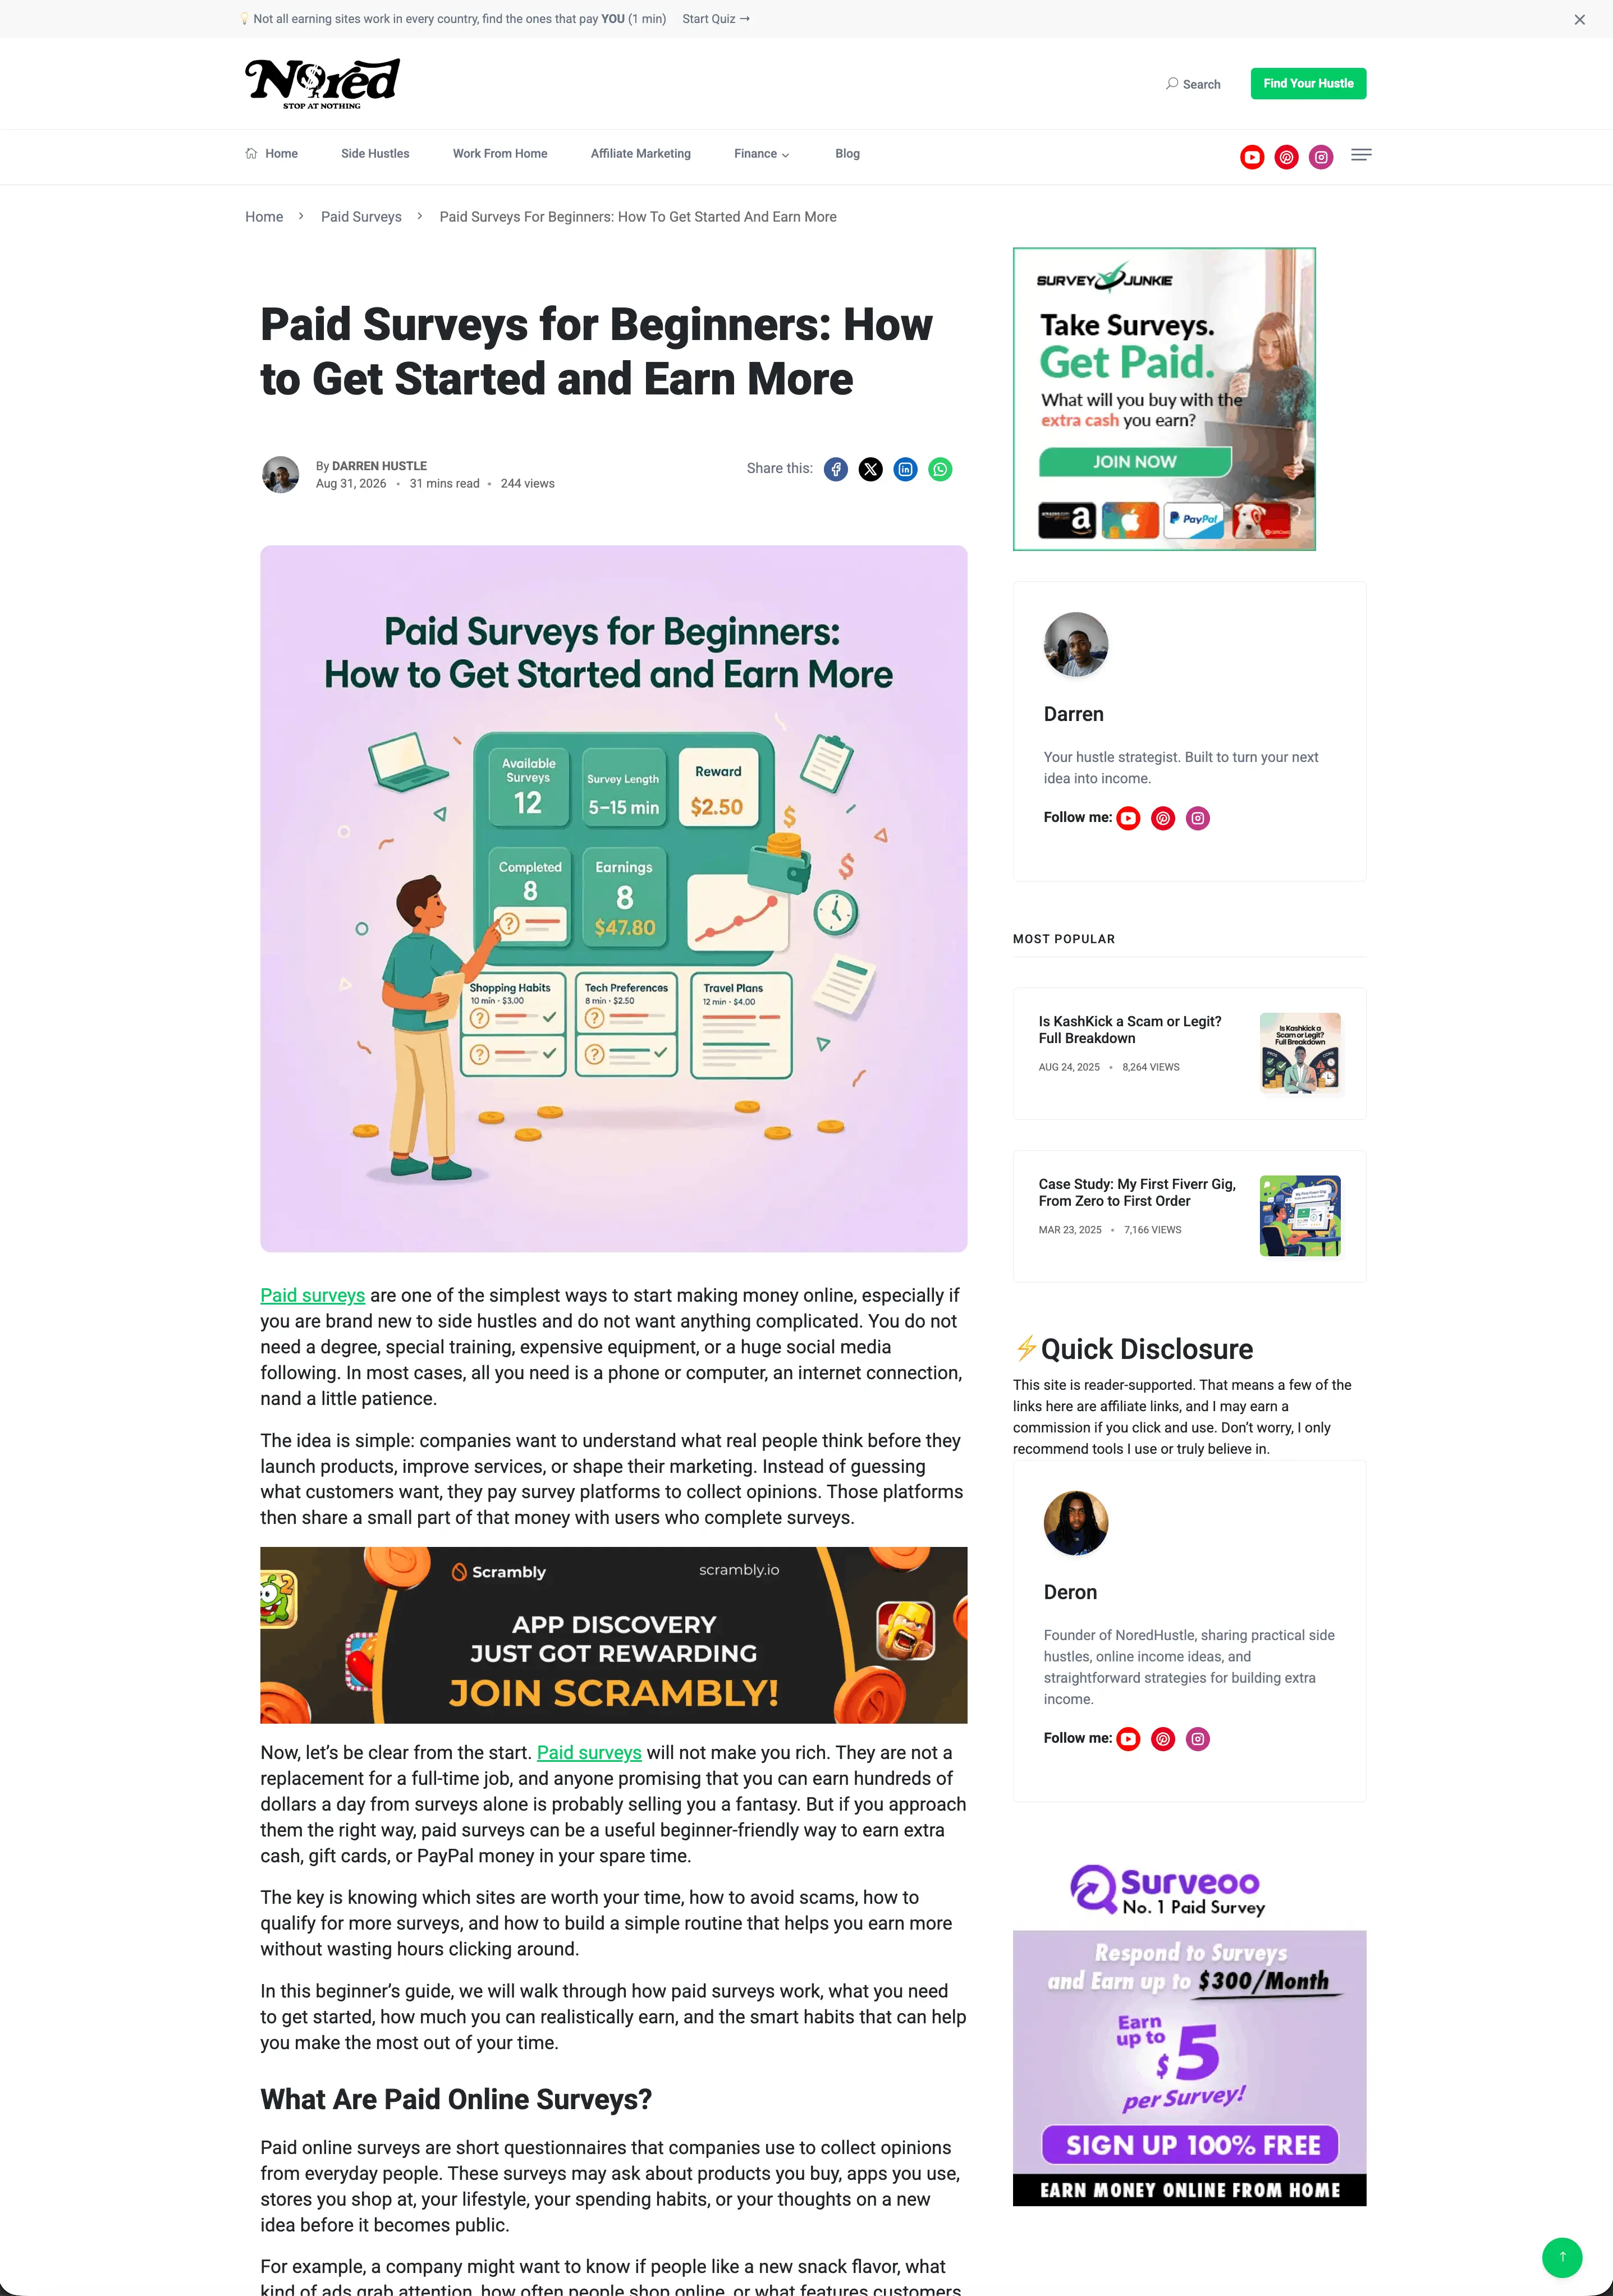
The application I’m using also asks for an image of the ad placement. That gives me a way to show the plan alongside my written explanation.
My Promotion Setup: A Relevant Blog Post With Banner Ads
For this example, I’m using my article:
Paid Surveys for Beginners: How to Get Started and Earn More
A survey article gives me a relevant place to introduce a survey-related offer. Readers are already exploring how paid surveys work, so an appropriate banner can give them an option to investigate further.
My proposed placements are:
- A banner within the blog post.
- A banner in the sidebar.
Visitors reach NoredHustle through organic Google search and links from my TikTok and YouTube content. Once they arrive, they can read the article and decide whether to click the banner.
That is the visitor journey I describe in the application.
How I Answer the Campaign Application Questions
Your answers should describe your own setup. Use mine to understand the level of detail, then adapt them to the website, traffic, and placements you actually plan to use.
1. How Many Leads Per Day Will You Send?
For this application, I’m entering:
10 leads per day.
That is my target for the campaign. It does not mean the offer is already producing 10 leads daily.
If you haven’t promoted an offer before, treat this field as an estimate. Consider the traffic you can realistically send and any campaign limits before choosing a number.
2. Will You Use Existing Campaign Creative or Make Your Own?
The answer depends on the banners I plan to use.
If I use creative supplied with the campaign, I select existing campaign creative. If I design my own banner, I select my own and check the campaign’s creative requirements.
Choose the option that matches your actual plan. If custom creative requires approval, arrange that before running it.
3. Upload an Image of Your Ad Placement
I upload a screenshot or mockup showing where the banners would appear on my blog.
A useful placement image lets the reviewer see:
- The page’s topic.
- The surrounding content.
- The proposed banner position.
- How the ad fits into the page.
The application shown in my video says that providing an image of the placement can help speed up the review process. It’s a simple way to make the plan easier to assess.
4. What Type of Traffic Will You Use?
For my proposed website banner placements, I select:
Display.
I also check that Display is permitted for the offer.
The form explicitly says that traffic types not listed are not allowed. Selecting an available option does not replace reading the campaign rules, particularly when visitors reach your website through multiple sources.
In my description, I disclose that Google, TikTok, and YouTube bring visitors to the blog. If I’m unsure whether that setup is permitted, I clarify it with my affiliate manager before promoting the campaign.
5. How Does Traffic Get to Your Website?
Here is how I explain my traffic:
Visitors reach NoredHustle.com through organic Google search and links from my TikTok and YouTube content. They land on relevant blog posts, where they can read the article and choose whether to click a banner.
This tells the reviewer both how visitors find the website and how they would reach the offer.
If your traffic comes from different sources, name those sources. Don’t copy Google search into your application if your site does not receive search traffic.
6. Will You Use Banners or Text Ads?
For this setup, I choose:
Banners.
That matches the placements in my screenshot. If your promotion includes text ads or another format, your answer should reflect that.
7. What Is the URL of the Site You Will Use?
I enter:
Where the application allows it, I also include the specific article URL. A direct link helps the reviewer find the intended placement without searching the entire website.
8. Fully Describe How You Plan to Run the Campaign
Here is my example description:
I plan to promote this campaign using banner placements within a relevant paid surveys article and in the sidebar on NoredHustle.com. Visitors reach my website through organic Google search and links from my TikTok and YouTube content. Readers can view the article before choosing whether to click the banner. My target is 10 leads per day, although actual volume will depend on performance. I will follow the campaign’s traffic, creative, and geographic requirements.
This brings the plan together in one paragraph: the website, relevant content, banner locations, visitor sources, and estimated volume.
What I Check Before Submitting
Before submitting, I compare my answers with the campaign requirements.
I check the permitted traffic types, eligible countries, creative requirements, and any lead limits. I also make sure the screenshot and description show the same promotion plan.
For example, if I describe a banner inside a survey article, my placement image should show that article and banner position.
The goal is to give the reviewer a clear, accurate application they can evaluate.
My InboxDollars Results: $424.80 in Earnings
InboxDollars is an offer I was previously approved to promote. It is separate from the application demonstrated in this guide.
My MaxBounty report shows:
Metric | InboxDollars result |
Clicks | 737 |
Leads | 177 |
Conversion rate | 24.02% |
Earnings | $424.80 |

Getting approved gave me access to promote the campaign. After that, I still needed to bring visitors to the promotion and see how it performed.
These are my reported campaign earnings. They aren’t a promise of what someone else will earn, and the earnings figure does not show expenses.
What If You Don’t Have a Website?
The application in this example is built around my blog. If you don’t have a website, you’ll need a plan that reflects the resources and traffic sources available to you and meets the offer’s requirements.
That might mean preparing a landing page or developing another permitted promotion method. A website alone does not guarantee approval, but a relevant page gives you something concrete to show when explaining your plan.
You can also get help before you have a website.
My CPA Offer Approval Assistance service is available to people with or without their own site. I can help you work through your promotion plan and prepare your application. The final approval decision belongs to the network or advertiser.
Get Help Beyond the Application
An approved application is only one part of running a CPA campaign. You still need to choose suitable offers, bring in relevant visitors, and review the results.
If you want help with those steps, explore my CPA Marketing Private Mentorship.
For help with a specific offer request, start with CPA Offer Approval Assistance.
When preparing your next application, make it easy for the reviewer to understand your plan: show where the offer will appear, explain where visitors come from, and make sure your answers match what you intend to run.

Leave a comment
Your email address will not be published. Required fields are marked *